
Find your photos with a selfie
Take one selfie and TurtlePic finds every photo you’re in from the event. There’s no app to install.
On this page6 sections
Your photographer shares event photos through TurtlePic. Instead of scrolling through hundreds of photos, you take a selfie and see just the ones you’re in.
Before you start
- The gallery link or QR code from your photographer or event host.
- A phone or computer with a camera, or a clear photo of your face.
Open the gallery
Scan the QR code or open the link. You’ll see the event’s cover. Tap Find my photos.

Tip
If you also see View gallery, you can browse every photo from the event.
Add your details
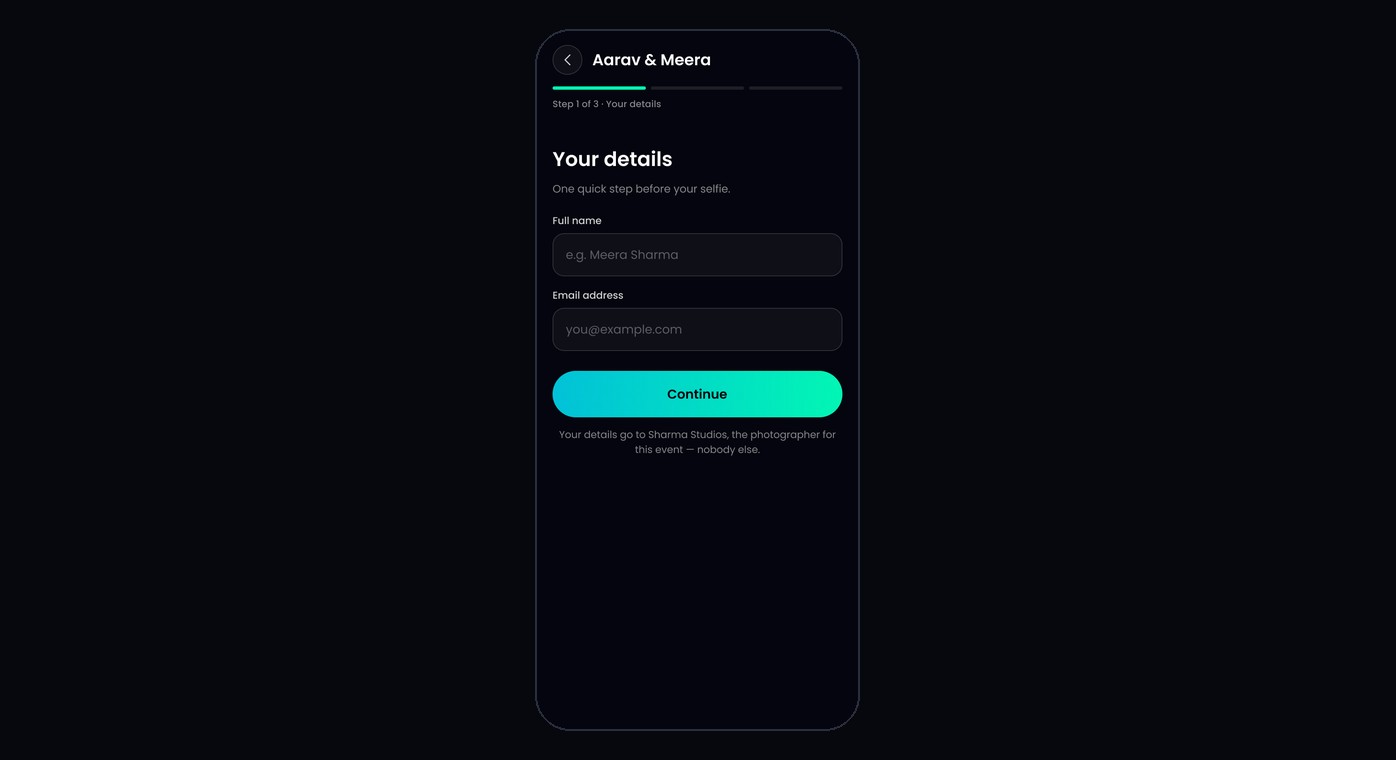
If the photographer asks for details, enter your full name and anything else the form asks for, such as your email, then tap Continue.
Note
Your details go only to the photographer for this event.
Take a selfie
Tap Take selfie. When your browser asks to use the camera, tap Allow. Line your face up with the oval and take the photo.
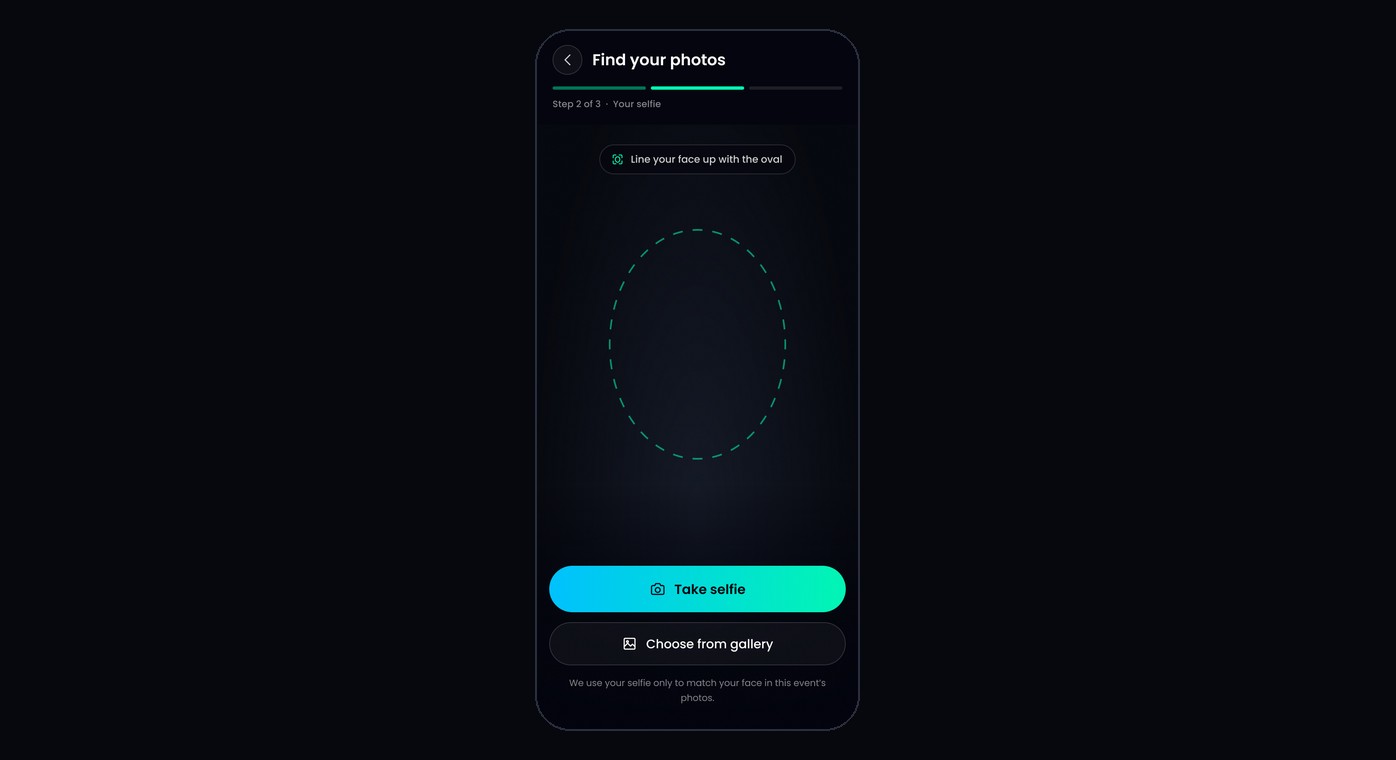
If you see Choose from gallery, you can use a photo of yourself that’s already on your phone instead.
See your photos
TurtlePic checks the gallery for your face. This usually takes a few seconds. You’ll see how many photos you’re in, and the gallery opens with just your photos.

If you can see the whole gallery, switch between All photos and My photos at the top.
Tip
To search again, for example with a clearer selfie, tap Retake selfie at the top of the gallery.
Was this article helpful?
Your answer helps us improve this guide.
Thanks for letting us know.