
Upload and organise your photos
Create folders, upload photos from your computer or Google Drive, and put them in the order guests will see.
On this page10 sections
Folders keep your event easy to browse, for you and for your guests. This guide shows how to create folders, upload photos from your computer or Google Drive, and put everything in the order you want guests to see.
Before you start
- An event in your dashboard. New to TurtlePic? Start with Create your first event.
- Your photos as JPEG or PNG files. HEIC and WebP files aren’t supported yet, so export those as JPEG first.
Create a folder
Open your event and go to the Upload tab. Every new event already has Folder 1, so you can skip this step if one folder is enough.
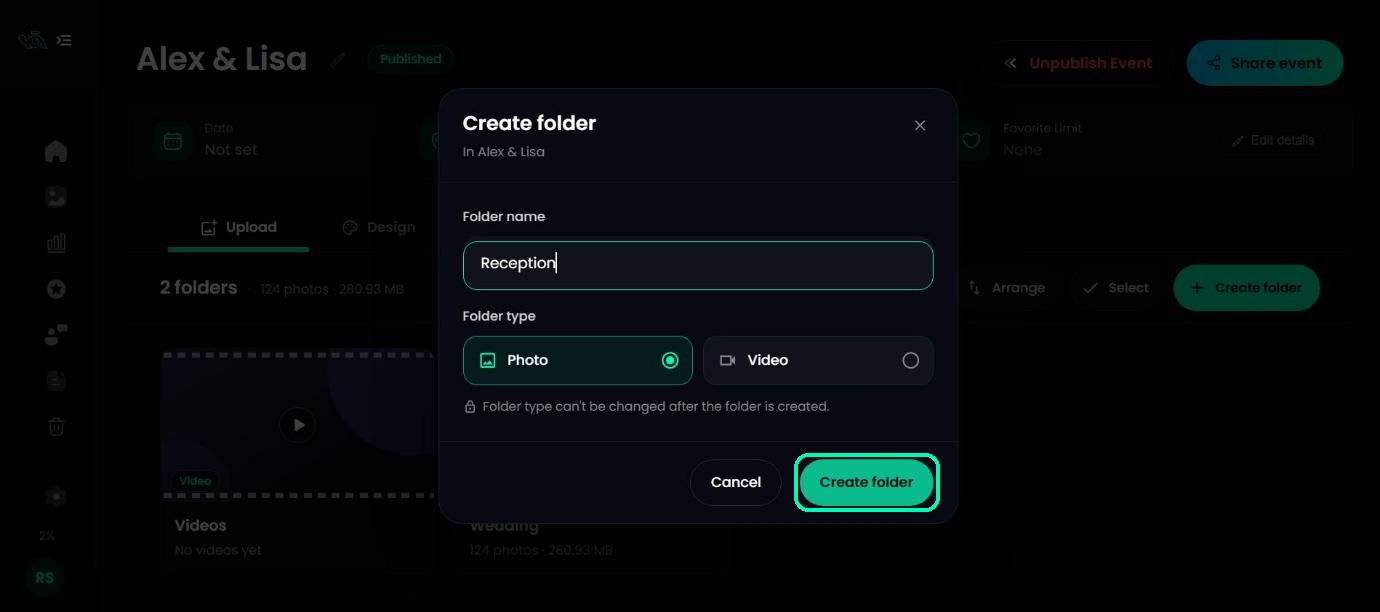
To add another, click Create folder. Type a Folder name, for example Ceremony, Reception or Candids, choose Photo or Video as the Folder type, then click Create folder.
Note
The folder type can’t be changed after the folder is created. Photos go in Photo folders and videos go in Video folders.
Upload photos from your computer
Open a folder. If it’s empty, drag your photos onto the page or click Select from device. If it already has photos, click Upload More in the bottom-right corner and choose Upload from device.
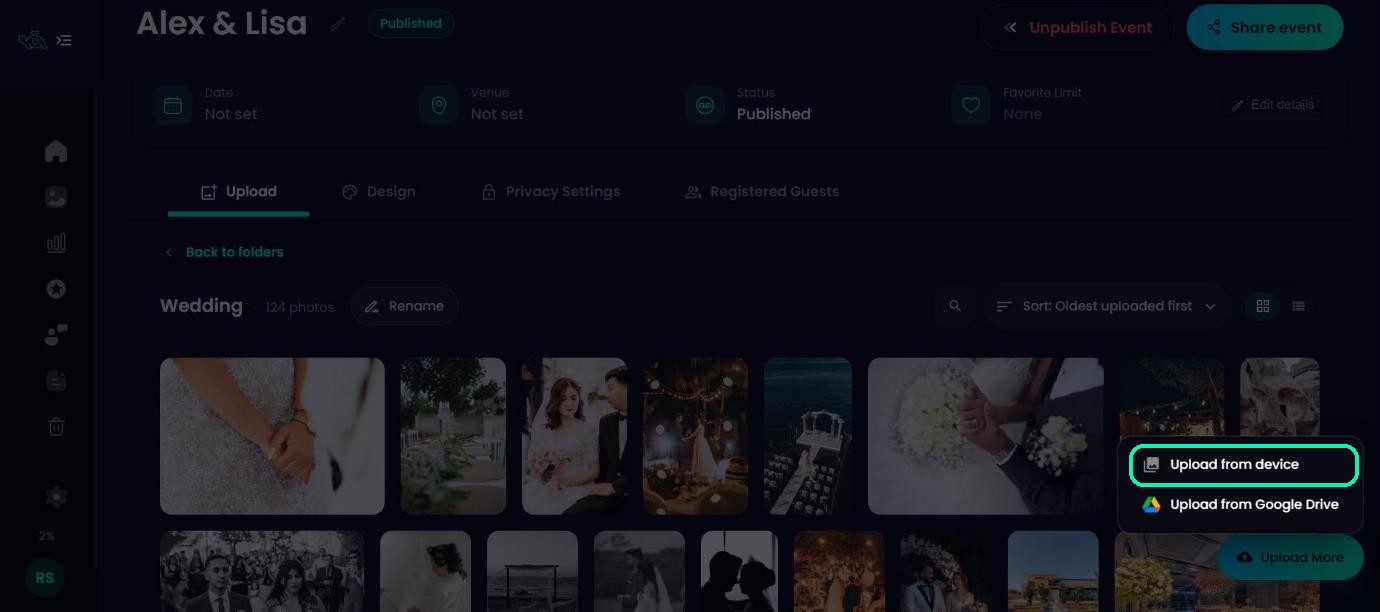
Before the upload starts you’ll see how many photos you picked and how much storage they’ll use. Click Upload to start.
Tip
Uploading the same photos twice? TurtlePic spots files with the same name and size. Choose Skip to leave them out, or Keep both when two cameras gave different photos the same file name.
Or import a Google Drive folder
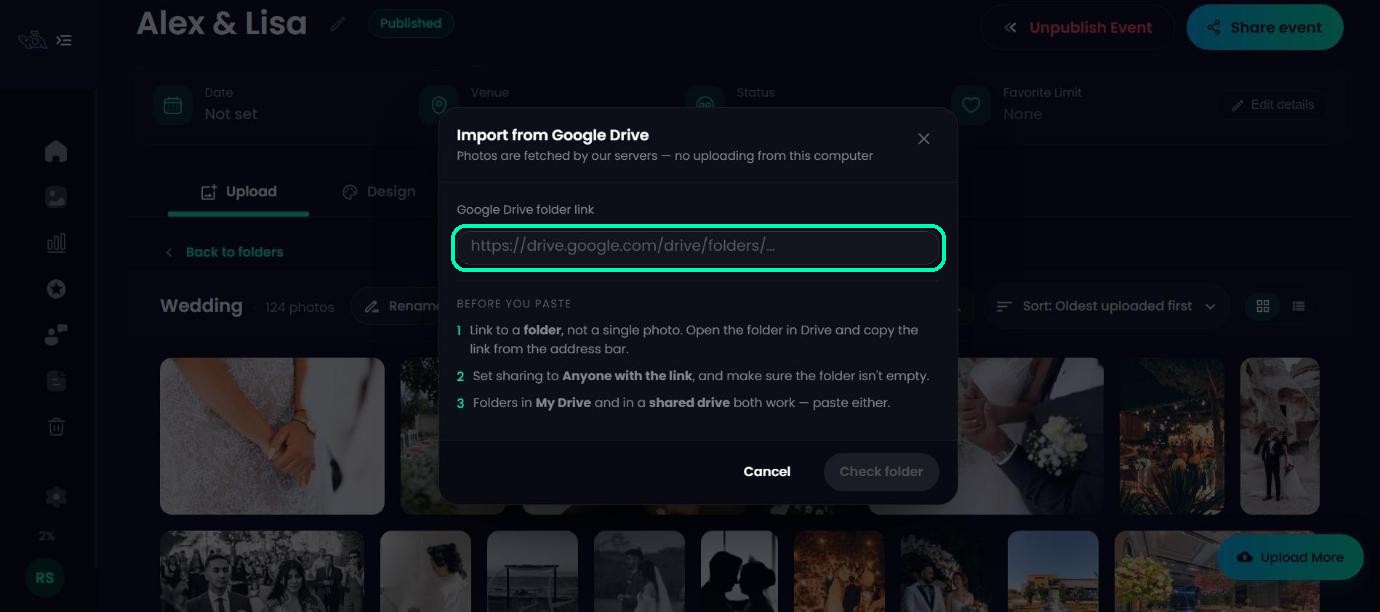
If your photos are already in Google Drive, TurtlePic can fetch them for you, so nothing uploads from your computer. First, set the Drive folder’s sharing to Anyone with the link and copy the link.
In TurtlePic, open the folder, click Upload More and choose Upload from Google Drive (or pick the Google Drive option in an empty folder). Paste the link, click Check folder, then click Import.
Note
Google Drive import is available on the Standard plan and above.
Keep an eye on the upload
Progress shows in a panel at the bottom-right of the screen, in three stages: Upload, Previews and Faces. When all three are done, guests can find themselves with a selfie.
- While it says Keep this tab open while photos upload, stay on the page.
- Once it says Safe to close this tab, the photos are with us and you can close the tab. Previews and face matching finish on our servers.
- To stop an upload, click the X on its row. Photos that already went up are kept.
Tip
If you run out of storage, TurtlePic tells you how much space the upload needs and how much is left on your plan. Upload a smaller batch, or upgrade for more space.
Put your folders in order
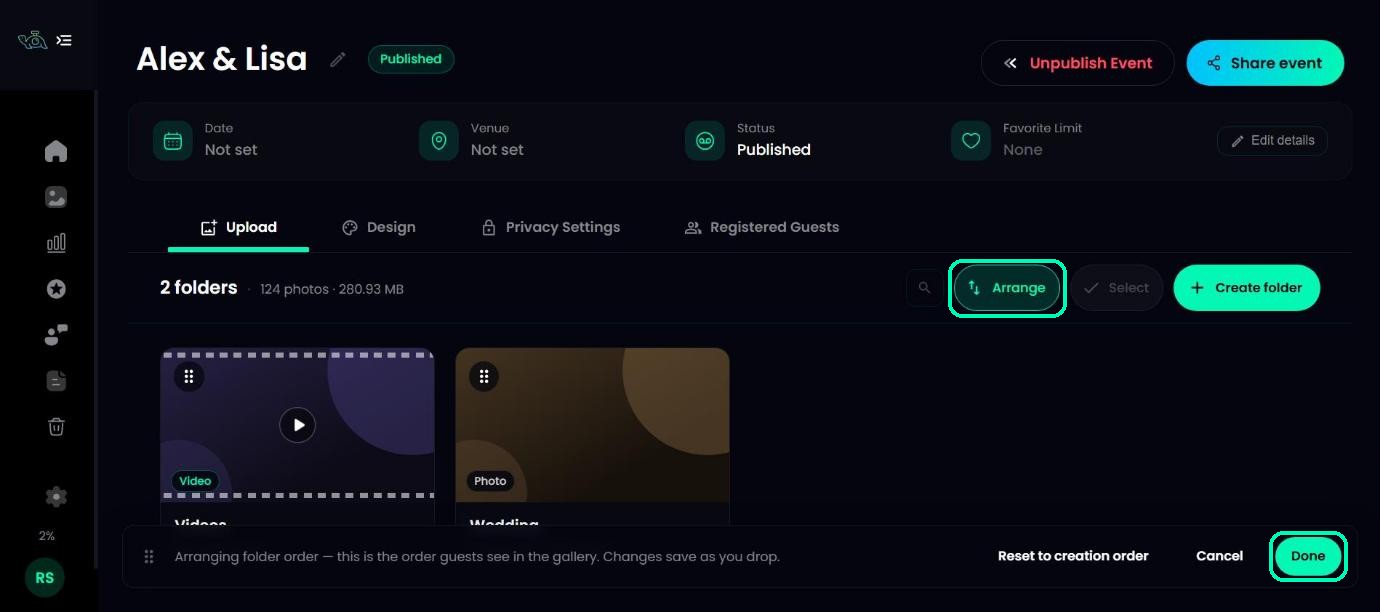
On the Upload tab, click Arrange. Drag the folders into the order you want, or use the ⋯ menu on a folder to move it to the top, up, down or to the bottom. This is the order guests see in the gallery, and each move saves as you drop it. Click Done when you’re finished. Cancel undoes the moves you just made, and Reset to creation order puts the folders back in the order you created them.
Choose how photos are sorted
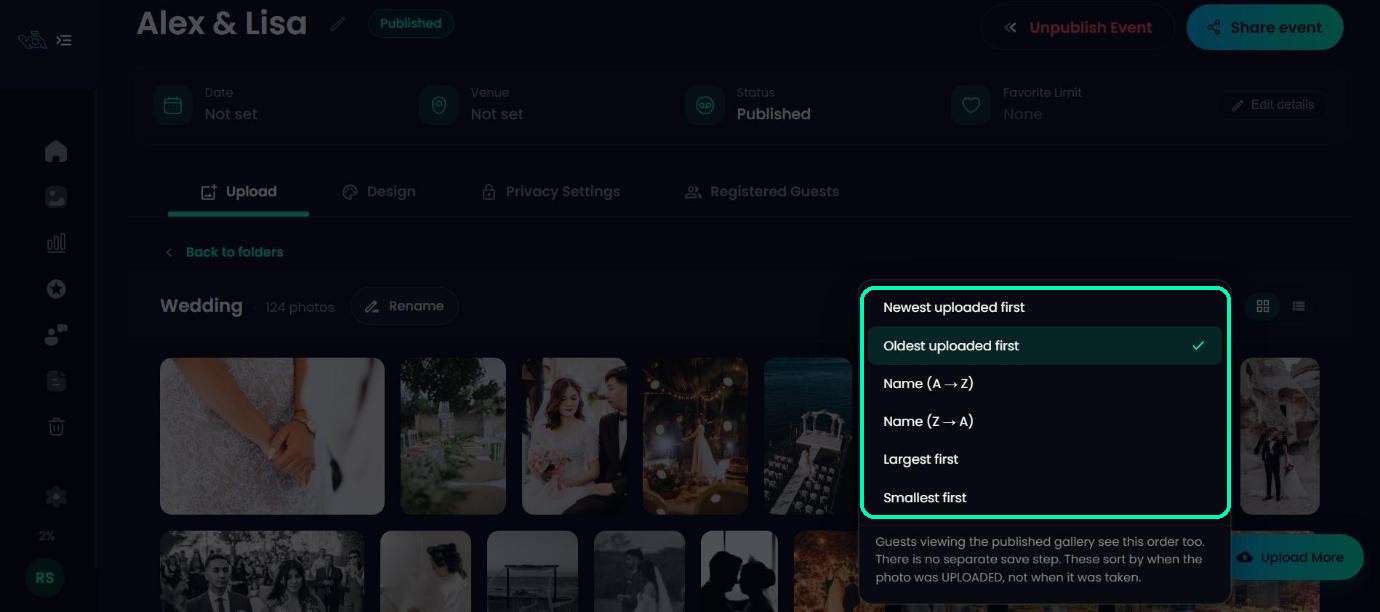
Inside a folder, click the Sort menu and pick an order: Newest uploaded first, Oldest uploaded first, Name A→Z, Name Z→A, Largest first or Smallest first.
Note
Guests see the same order in the published gallery, and it saves automatically. Sorting uses the date photos were uploaded, not the date they were taken.
Rename or delete
To rename a folder, open it and click Rename, or use the ⋯ menu on the folder card.
To delete, click Select, tick the photos or folders you want to remove, and choose Delete. Inside a folder, you can select every photo in it at once.
Note
Deleting photos or folders is permanent and can’t be undone. They are also removed from the published gallery.
Uploading videos
Videos go in a Video folder. Open it, add your videos and choose HD or 4K quality. Each video can be up to 2 GB. While a video is being processed, its tile shows how long is left.
Was this article helpful?
Your answer helps us improve this guide.
Thanks for letting us know.