
Create your first event
Create an event, add your photos and publish it so guests can find themselves with one selfie.
On this page8 sections
This guide takes you from an empty dashboard to a live event gallery your guests can open. It takes about two minutes, plus the time to upload your photos.
Before you start
- A TurtlePic account. Signing up is free.
- The name of your event, for example the couple’s names or the conference title.
- Your event photos, ready on your computer or phone (you can also add them later).
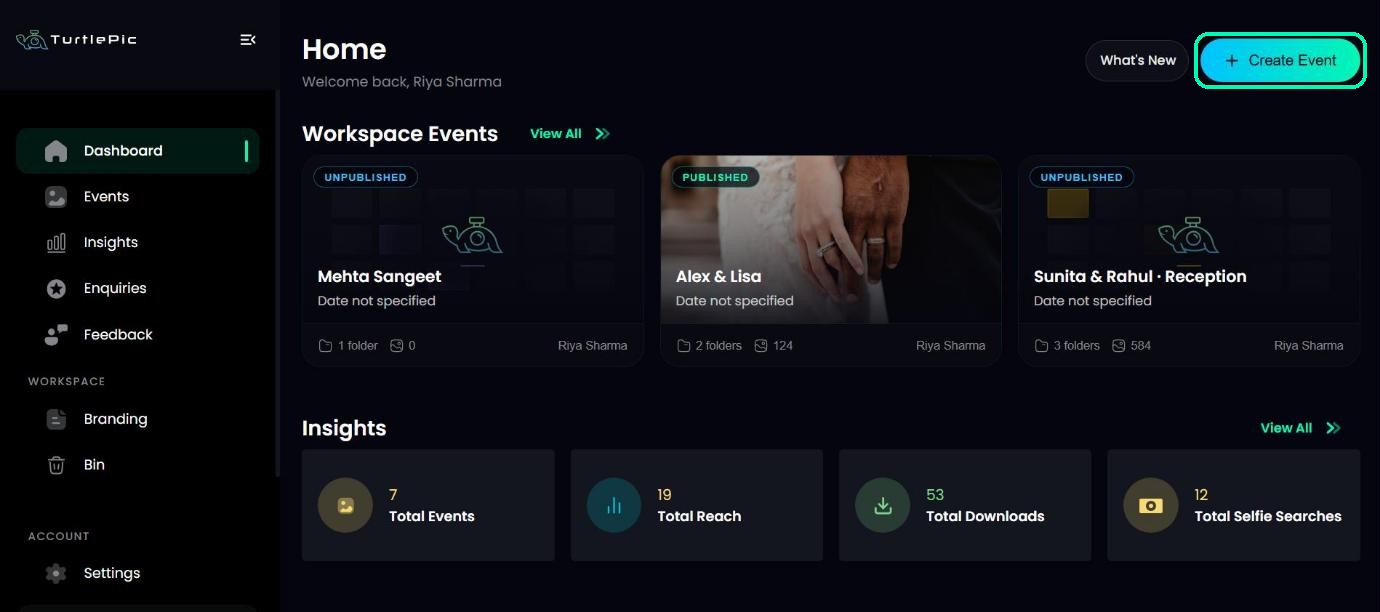
Click Create Event
Log in to TurtlePic and open your Dashboard. Click Create Event at the top of the page.
Name your event
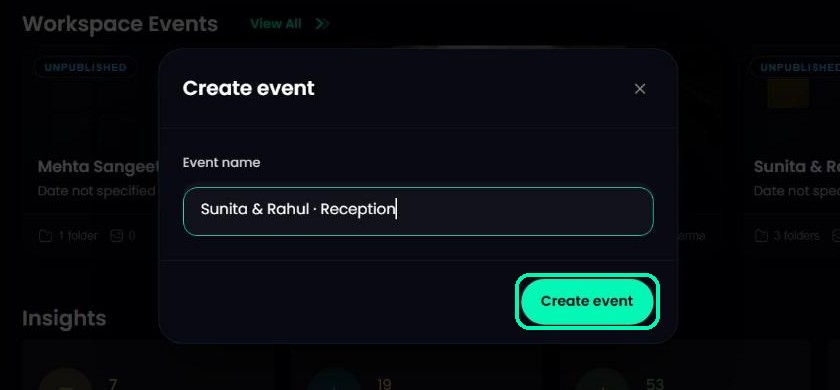
Type a name in Event name, for example Sunita & Rahul · Reception, then click Create event. The name can be up to 100 characters.
Tip
Use a name your guests will recognise. It appears at the top of the gallery they open.
Want to add where the event is happening? You can add or change the Venue any time from Edit details on your event page.
Get to know your event
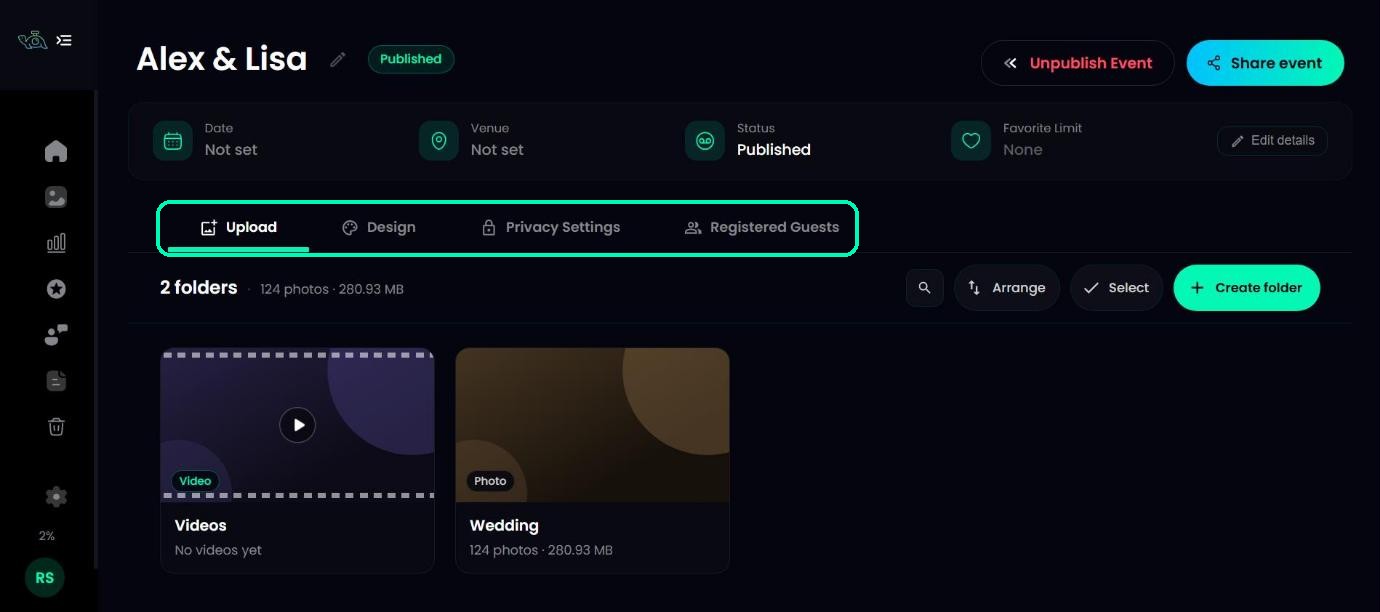
Your new event opens straight away. Along the top you’ll see four tabs:
- Upload – add and organise your photos and videos. The event opens here.
- Design – choose how the gallery looks to guests.
- Privacy Settings – control who can open the gallery and what they can download.
- Registered Guests – see guests who registered for the gallery.
Upload your photos
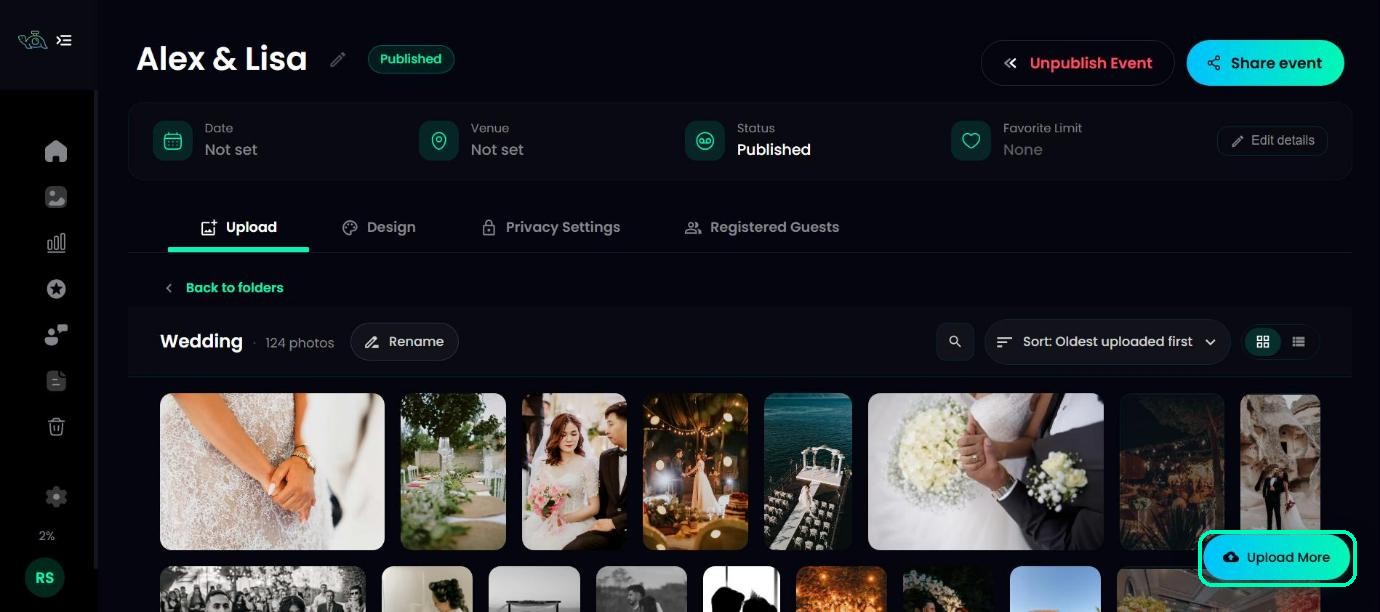
On the Upload tab, every new event starts with a folder called Folder 1. Open it and upload your photos. You can Rename it (for example Wedding) and use Create folder to add more, such as one per ceremony. To add photos to a folder later, click Upload More.
Tip
You can publish before every photo is uploaded and keep adding more. Guests see new photos as they arrive.
Publish your event
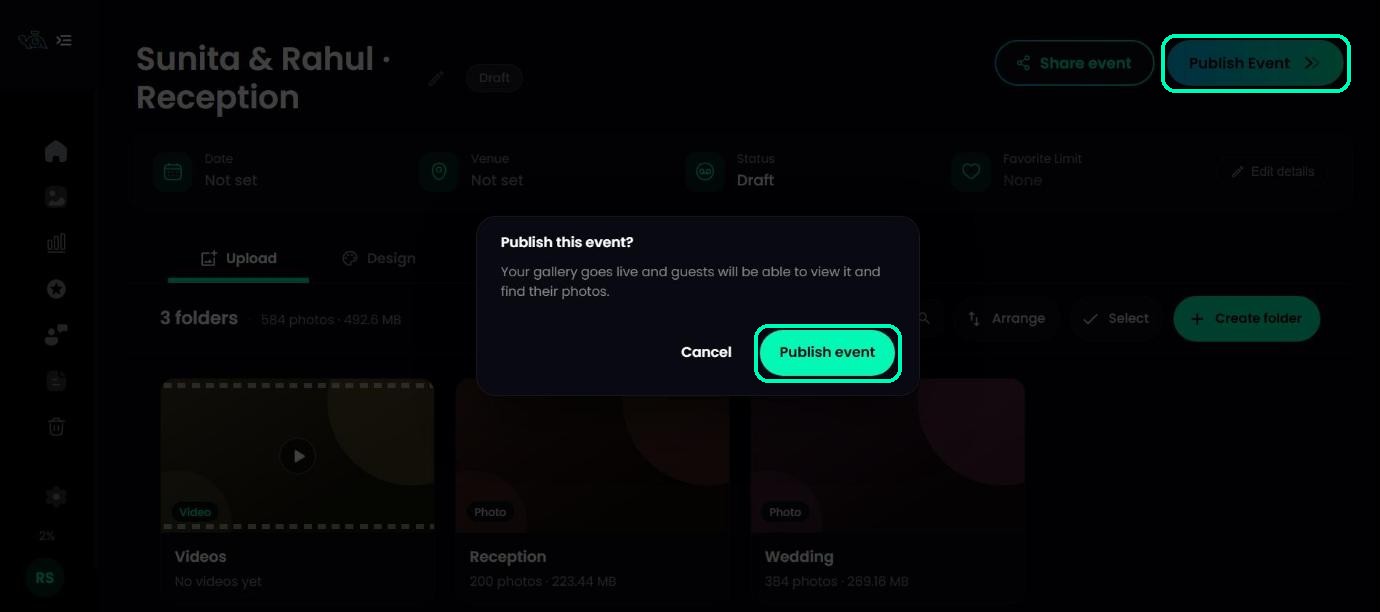
New events start as a Draft, so only you can see them. When you’re ready, click Publish Event at the top, then Publish event to confirm.
Note
Until you publish, guests who open your link will see an empty gallery, and emails to guests stay switched off.
Share it with your guests
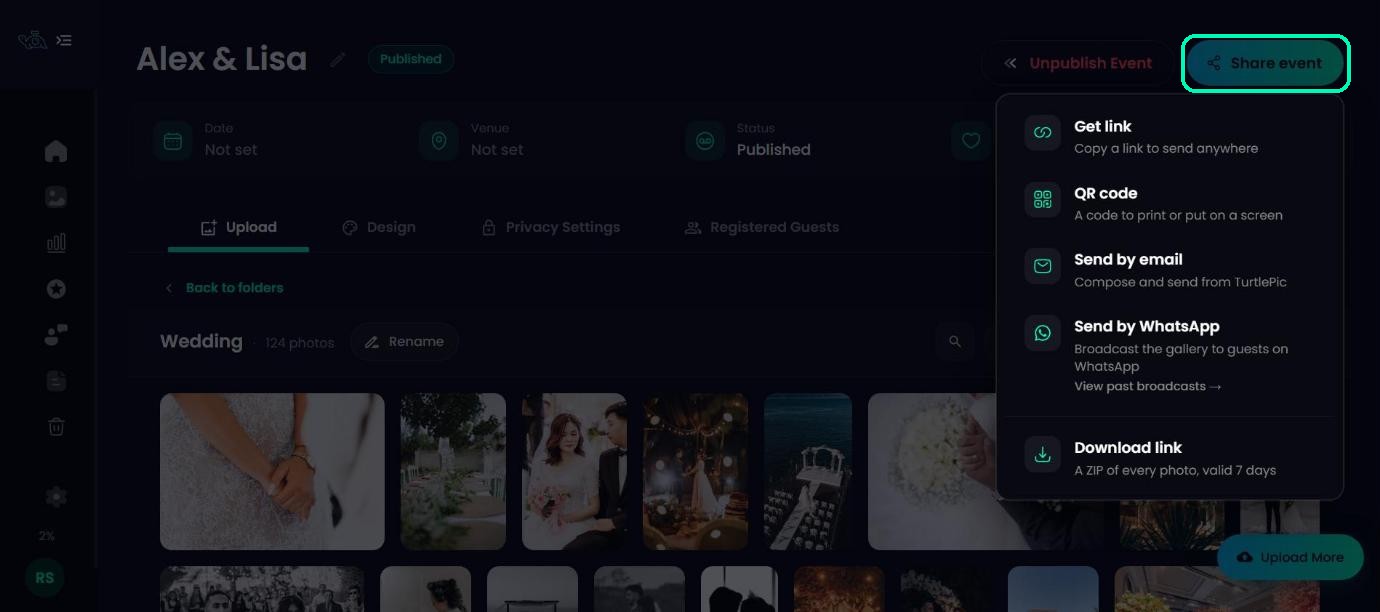
After publishing you’ll see Your gallery is live. Click Share event at any time and choose how to send it: Get link to copy a link, QR code to print or show on a screen, Send by email, or Send by WhatsApp. Download link gives a ZIP of every photo, valid for 7 days. Guests open the gallery, take a selfie, and see every photo they appear in.
Was this article helpful?
Your answer helps us improve this guide.
Thanks for letting us know.