
Add a watermark to your photos
Put your studio’s mark on every photo guests download, as a corner badge or a banner.
On this page9 sections
A watermark puts your studio’s mark on the photos guests download, so your work is credited wherever it’s shared. You can use a small badge in a corner, or a banner across the top or bottom edge.
Note
The watermark is added to guest downloads only: single photos and ZIP downloads. Photos viewed in the gallery don’t show it, and your original uploads are never changed.
Before you start
- Your watermark artwork as a PNG with a transparent background, under 1 MB. JPEG and WebP files work too.
- For a banner, use a wide image: between 2 and 8 times wider than it is tall.
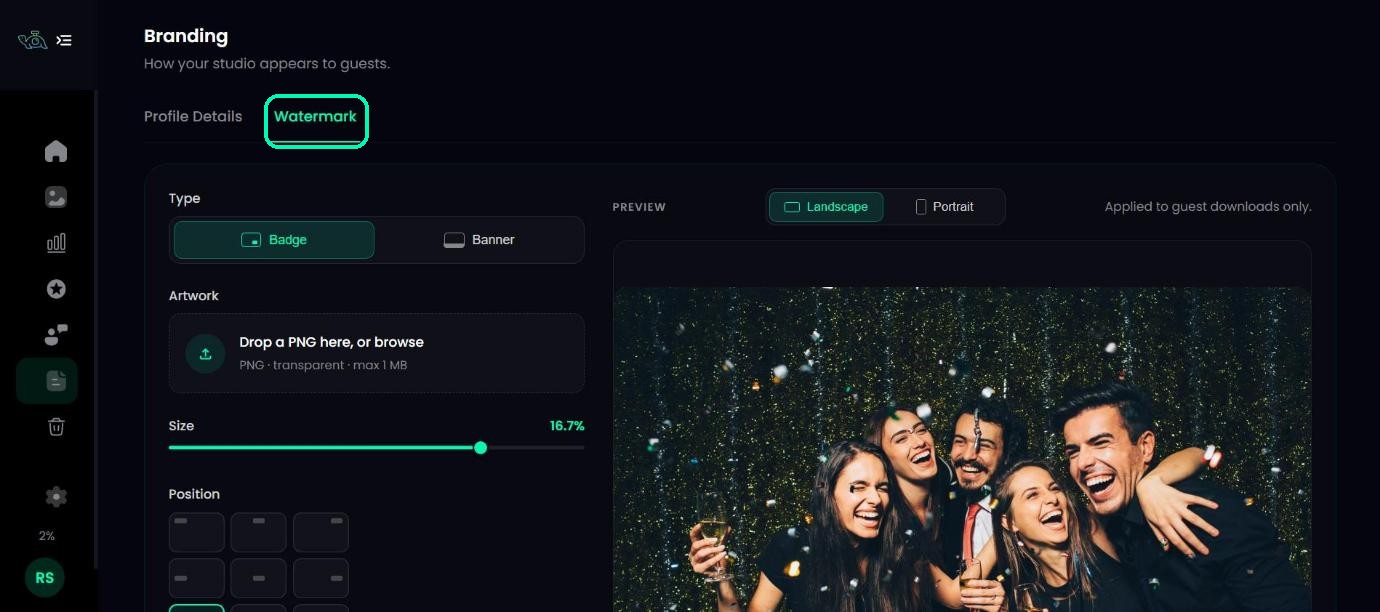
Open the Watermark tab
In the left sidebar, click Branding, then open the Watermark tab.
Choose Badge or Banner
- Badge – a small mark you can place in any corner, edge or the centre of the photo.
- Banner – a wide strip along the top or bottom edge of the photo.
Badge and Banner each keep their own artwork, so you can switch between them without losing anything.
Upload your artwork
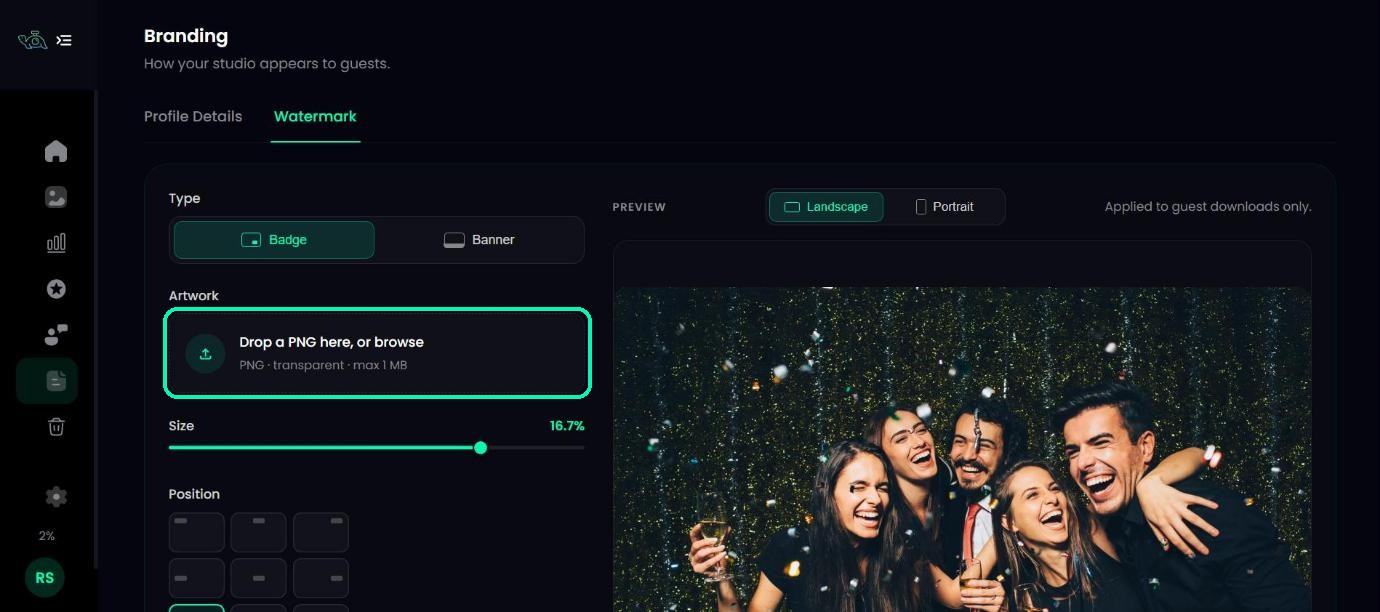
Drag your file onto the upload box, or click it to choose a file. Use Replace or Remove to change it later.
Tip
If the file can’t be used, TurtlePic tells you why, for example that it’s too large or, for a banner, the wrong shape.
Adjust how it looks
For a Badge:
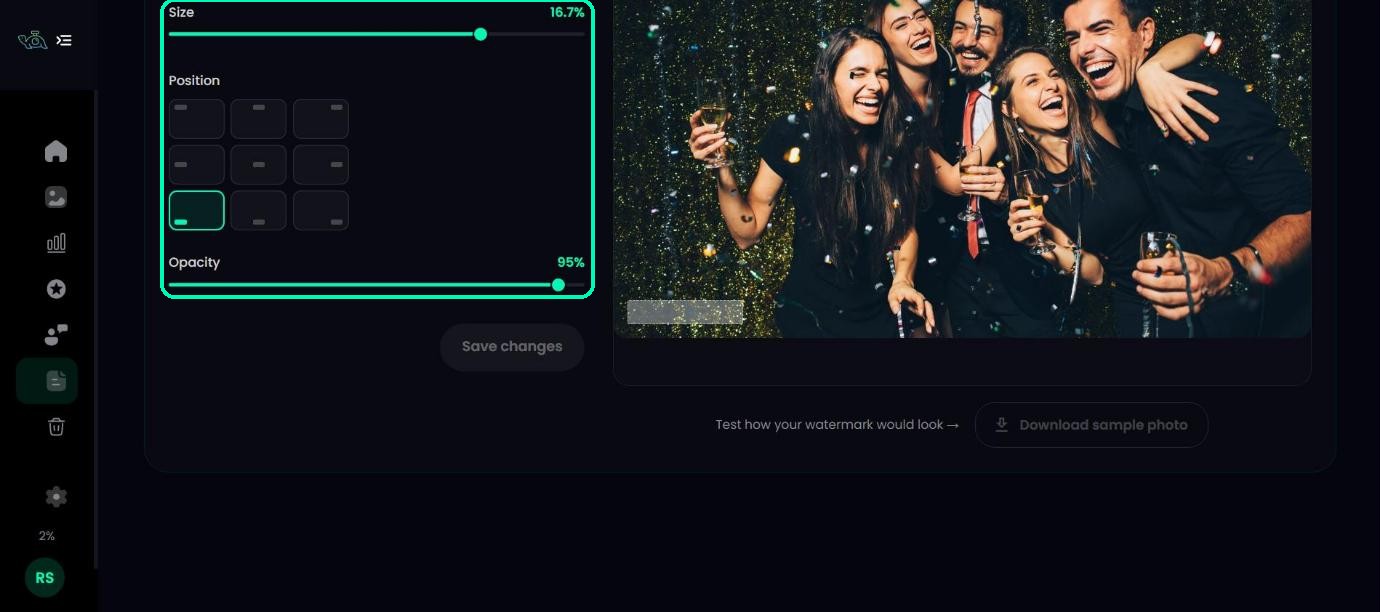
- Size – how big the badge is, shown as a share of the photo’s width.
- Position – pick one of nine spots on the grid. Bottom right is the default.
For a Banner, choose the Edge: Top or Bottom.
For both, set the Opacity. 100 is fully solid; lower numbers make the mark see-through.
Check the preview
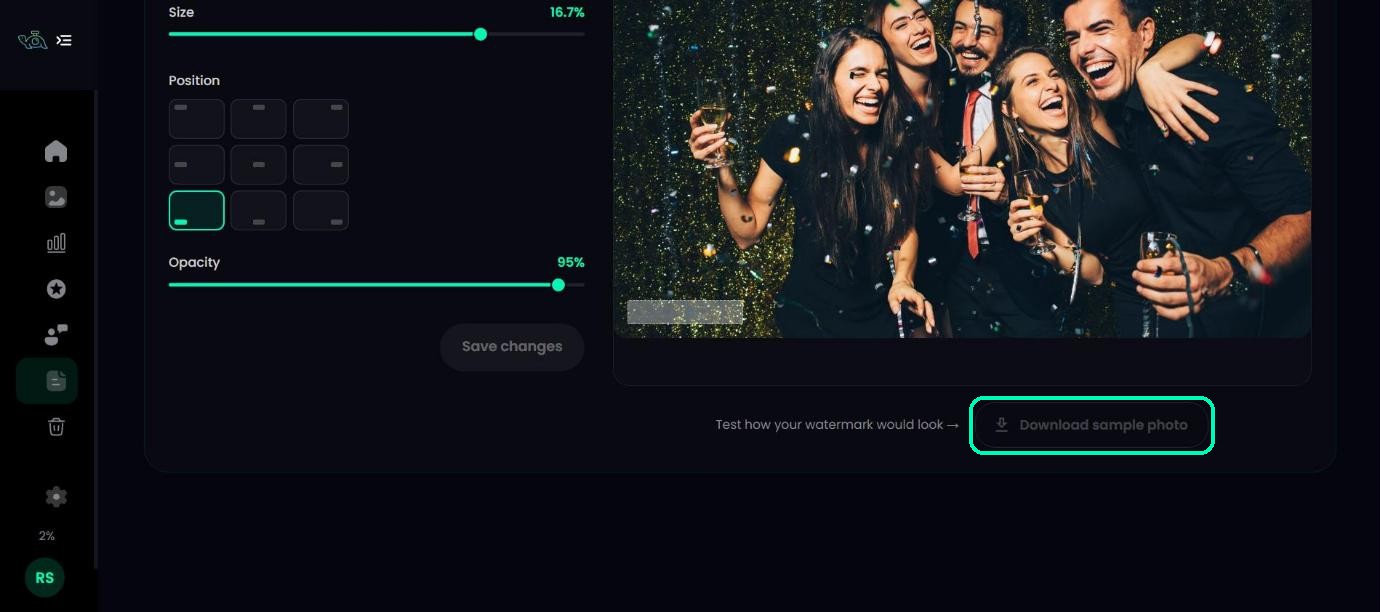
The preview on the right shows your watermark on a sample photo. Switch between Landscape and Portrait to check both shapes, and download the sample to see it at full size.
Save your watermark
Click Save changes. You’ll see Watermark saved.
Turn it on for an event
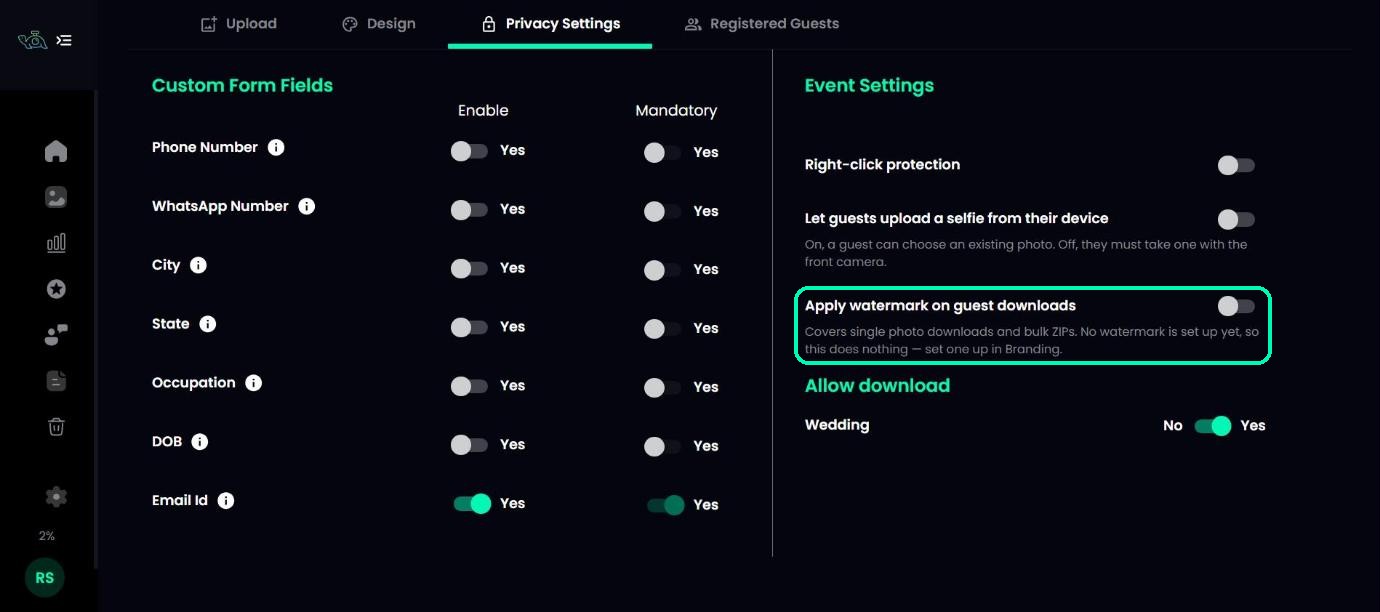
Open an event, go to the Privacy Settings tab and check that Apply watermark on guest downloads is switched on. It’s on by default, so new events use your watermark automatically. Switch it off for any event where you don’t want it.
Note
On the Free plan you can create, save and test your watermark, but it’s only added to real guest downloads on a paid plan.
Was this article helpful?
Your answer helps us improve this guide.
Thanks for letting us know.